
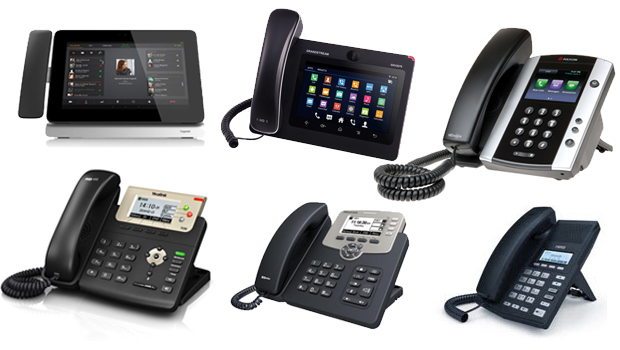
The Digium D-Series IP Phones are designed to allow you to customise your Asterisk-based phone system and take full advantage of the flexibility of Asterisk.
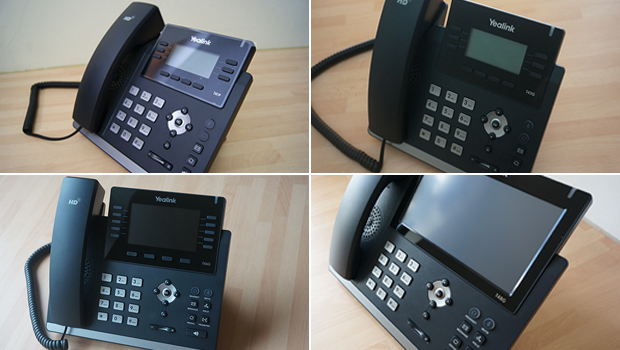
A popular feature of the Digium D-Series phones with Switchvox users is the capability to customise and personalise the display screen on each phone. This personalised option allows for businesses to display their branding such as their logo for a more professional look.
How to add my logo to my Digium D-Series Phone?
1. Open the Switchvox Administrator Suite. Use the ‘Setup menu’ dropdown and select Modify Templates.
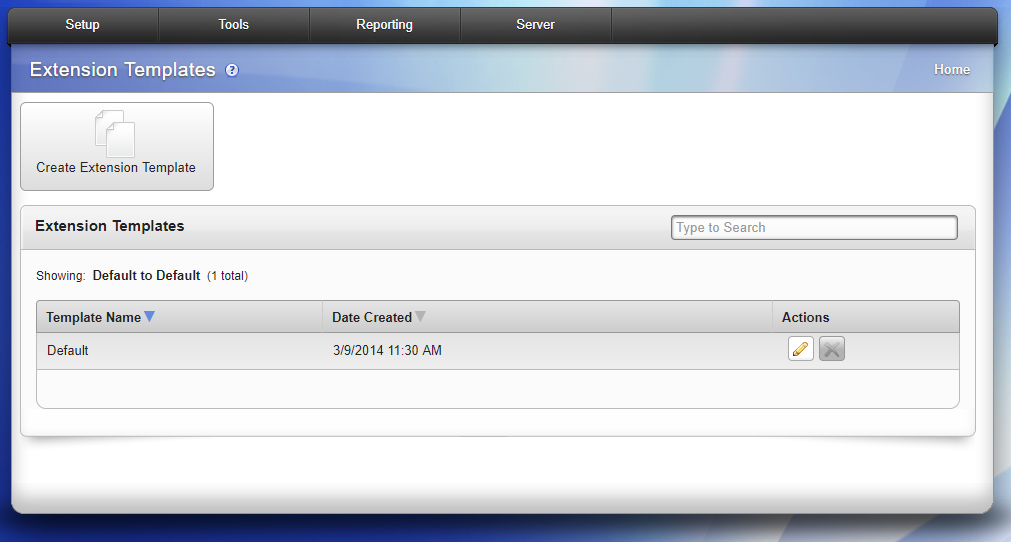
2. For this example, we’ll change the Default template, so if you have multiple templates available, you may have to edit more than one. Click the pencil icon next to the template you wish to edit.
3. This will take you to the ‘Modify Extension Template’ screen. First click on the Phone Settings tab, the Digium Phones sub-tab should automatically appear.
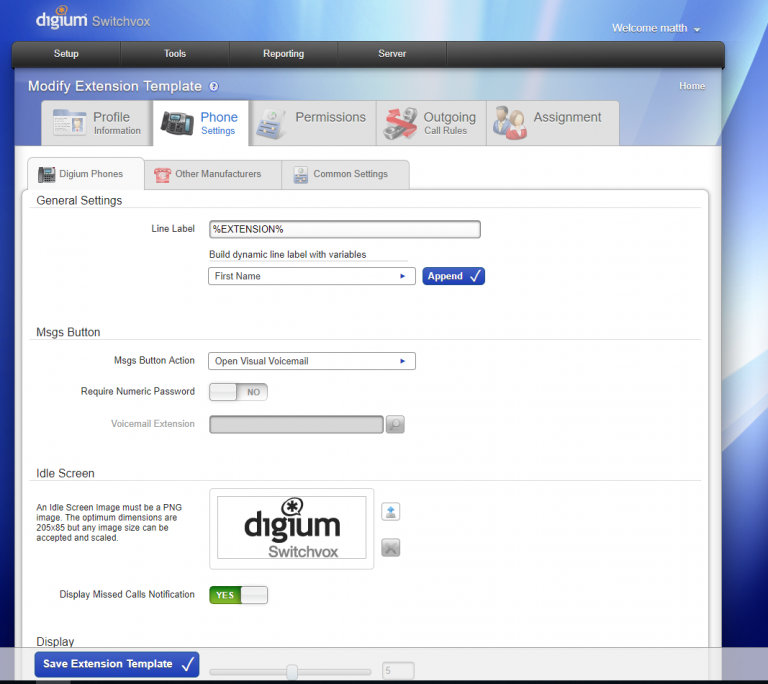
4. Click on the ‘Upload Image’ button next to the top-right corner of the existing Idle Screen image, select your file and then click the ‘Save Extension Template’ button. This updates the template so that new extensions will use your new image.
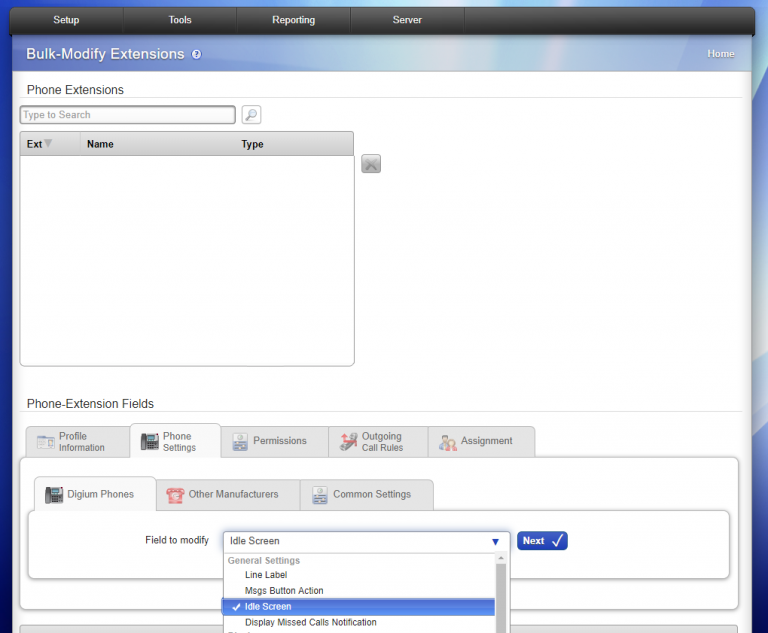
5. For existing users and extensions you’ll need to update these by using the ‘Bulk-Modify’ tool found in the Setup menu under Extensions > Manage.
6. Select the group(s) or extension(s) you wish to modify. Then, under the ‘Phone Extension’ field, select the ‘Phone Settings’ tab. From the dropdown, select ‘Idle Screen’, then click the ‘Next’ button.
7. Follow the same steps as above to upload your image. Then, click ‘Add’, and when you’re ready to update your phones, click ‘Save Modifications’. Soon, your users’ phones will update, and your new image will display on their idle screen.
Check out the full story published by Matt Hilton at Digium here.


