

Support for the GRP series is included in 3CX Version 16, Update 4 and above
Grandstream Networks, manufacturers of award-winning SIP unified communication solutions, recently announced compatibility of their new GRP series of Carrier-Grade IP Phones with 3CX.
3CX users can now deploy, provision and manage the powerful GRP series using 3CX version 16, update 4 and above
The GRP series joins the GXP1600 series, GXP1700 series and GXP2100 series as the Grandstream IP phones supported by 3CX. These are all available anytime from our website.
3CX configuration guide for GRP series
See instructions below or access the GRP series 3CX configuration guide here
Supported Models: Grandstream GRP26XX series

- 2.4” Colour LCD screen
- 4 line keys, 2 SIP accounts
- 4 programmable soft keys
- Supports up to 16 VPKs (4 pages)
- 500 contact phonebook
- PoE on GRP2612P, WiFi on GRP2612W* (*coming soon)
- Opus support
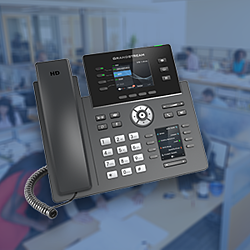
- 2.4” Colour LCD screen
- 6 line keys, 3 SIP accounts
- Gigabit network ports, PoE
- 4 programmable soft keys
- Supports up to 24 VPKs (4 pages)
- 500 contact phonebook
- Opus support
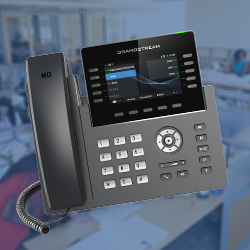
- 2.8” colour LCD for the main display
- 2.4” colour LCD for BLF/SD display
- 4 line keys, 4 SIP accounts
- WiFi & Bluetooth
- 2000 contact phonebook
- Gigabit network ports, PoE
- Opus Support
- 4.3” colour LCD screen
- 10 line keys, 16 SIP accounts
- 4.3″ colour LCD extension module
- 4o virtual multipurpose keys (VPKs)
- Gigabit network port, PoE network port
- WiFi, Bluetooth 5
- Opus support

- 4.3” colour LCD screen with swappable face plates
- 2.4″ additional colour display screen
- 6 line keys, 6 SIP accounts
- 48 virtual multipurpose keys (VPKs)
- Gigabit network port, PoE network port
- Dual band 802.11 a/b/g/n/ac WiFi
- Integrated Bluetooth
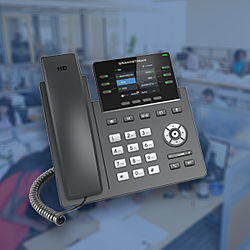
- 2.4” colour LCD for the main display
- 4 line keys, 2 SIP accounts
- WiFi & Bluetooth
- HD audio support
- Up to 16 digital BLF Keys
- Opus Support
Step 1: Upgrade to the required firmware
Ensure that the phone is running on the required firmware by 3CX. If the device needs manual updating download the latest distributed required firmware by 3CX from here. To check which firmware the phones are running on and how to upgrade them read this guide: How to manually upgrade Grandstream IP Phones.
Step 2: Factory reset the IP phone
Before provisioning the IP phone, the phone must be brought back to its factory default settings to eliminate residual device settings from a previous configuration. To reset the device read our guide on How to Factory Reset Grandstream phones.
Step 3: Provisioning the phone
There are two ways to provision a phone:
- Plug & Play – For phones on the local LAN or behind the 3CX SBC.
- RPS – For phones on remote networks that will connect directly to 3CX and use STUN
For more information, see “When can I use which provisioning method?”.
Local LAN or SBC: Provision via plug’n’Play
- Connect the phone to the network. A PnP request will be sent automatically to 3CX.
- Go to “Phones” in 3CX Management Console. The new phone will be marked in Bold.
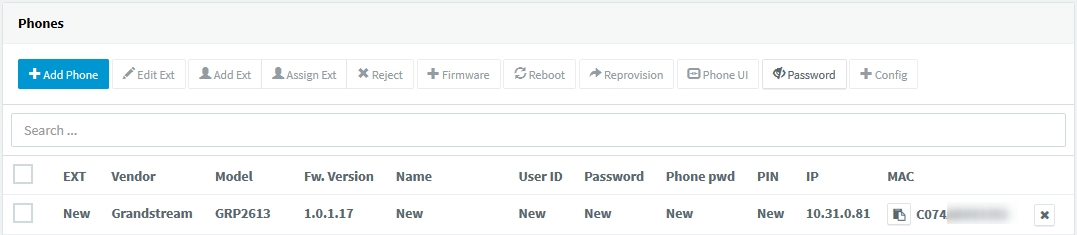
3. Click on the BOLD entry and choose between “Assign Ext” or “Add Ext”, depending on whether you want to assign the phone to an existing extension or create a new one.
- All major provisioning settings are pre-populated. If your PBX has multiple network cards, select on which network interface this IP phone is connected.
- Click “OK”. The phone will be configured automatically and will reboot to finalize the setup.
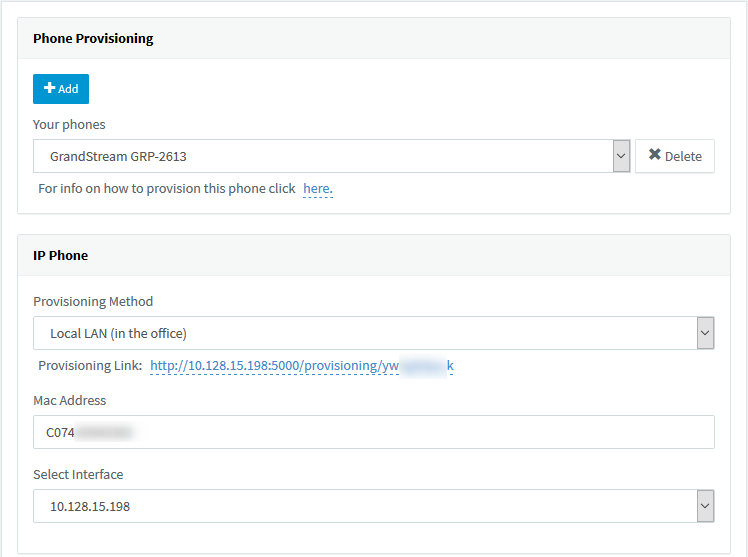
Remote phones: Provision via RPS server
- Take note of the phone’s MAC address, usually written at the back of the phone.
- Go to “Phones” in the 3CX Management Console and press “+ Add Phone”.
- From the dropdown list select the extension to which this phone must be assigned.

4. In the next dialog select the Vendor/Model of the phone and enter the device’s MAC address.
5. Click “OK”. The phone will be configured automatically and will reboot to finalize the setup.
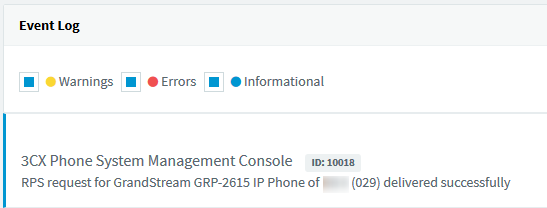
- Ensure that the extension is ready to be configured via RPS by checking the “Event Log” from the “Dashboard”. If the message appears as a “Warning” follow the instructions outlined in the message and use the Manual Link Provisioning method.
- The phone is now ready to be provisioned – you can boot up the phone from anywhere.
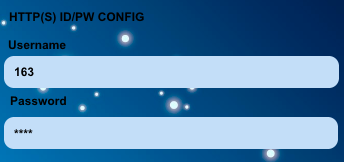
8. The phone will reboot twice and prompt for a username and password: Enter the extension number as the username, press the downward arrow and the voicemail PIN as the password. Press OK.
Step 4: Extended Phone Configuration
IP phones can be tweaked to match the user’s needs or the phone can be rolled out in default configuration. They can also be altered at a later stage and changes can be applied via “Phones” > “Select Device” > “Re-Provision” in 3CX Management Console:
- IP Phone Configuration Options, configurable per extension device.
- IP Phone BLF/DSS assignment, global for all extension devices.
- IP Phone Vlan management, configurable per extension device.
- Customizing the IP Phone background logo.
Known Limitations
- The first two keys are configured as line keys (via the template), and cannot be changed, otherwise the phone will not be able to make calls.
- When configuring Grandstream GRP phones as STUN, the RTP Port range will always be 24 ports, starting from the “Local RTP Audio Ports Start” you set in the extension’s settings.
EXPAND YOUR SOLUTION
Want to expand your communications solution further? Check out the full range of Grandstream products below! If you have any specific requirements, please contact our technical sales team on +44 330 088 0195.
Check out the original release from Grandsteam HERE


